Looking for our Adoption Auction? Click here. :)
.........................................................................................................................
It is snowing like crazy here! This is the last pic of our deck I got before dusk...
Last I heard, we got 19.5 inches! I feel like I live in Alaska with my buddy Anne! :)
It looks like we are going to be stuck inside for several days, so my sewing machine is going to get some good use!!!
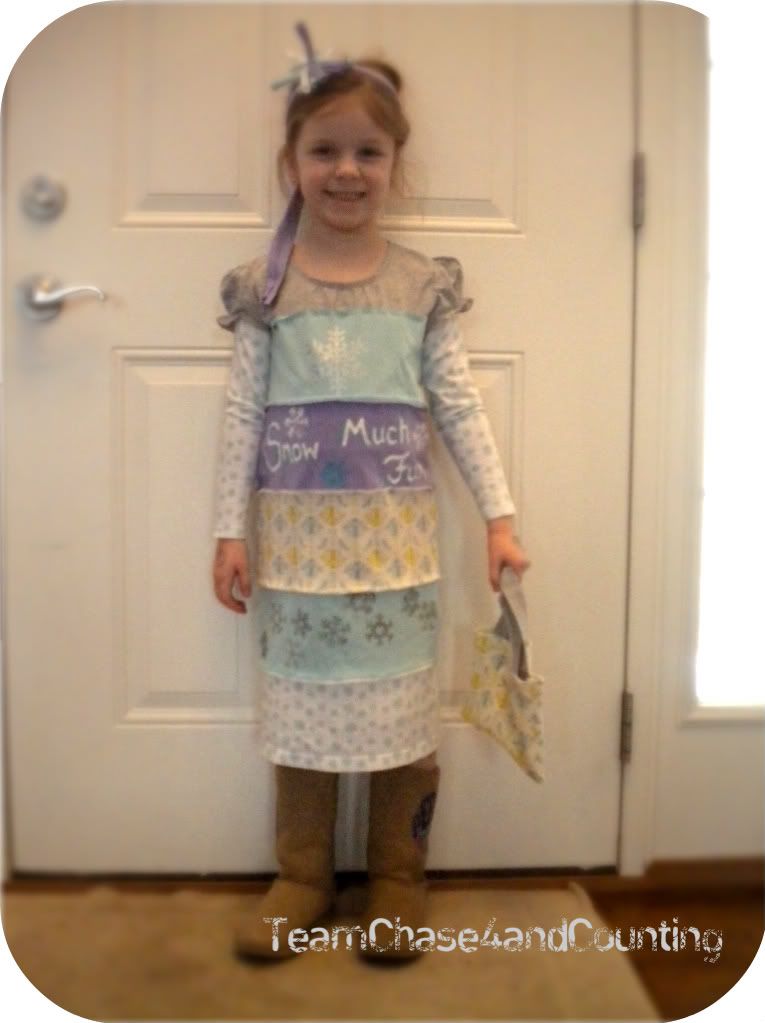
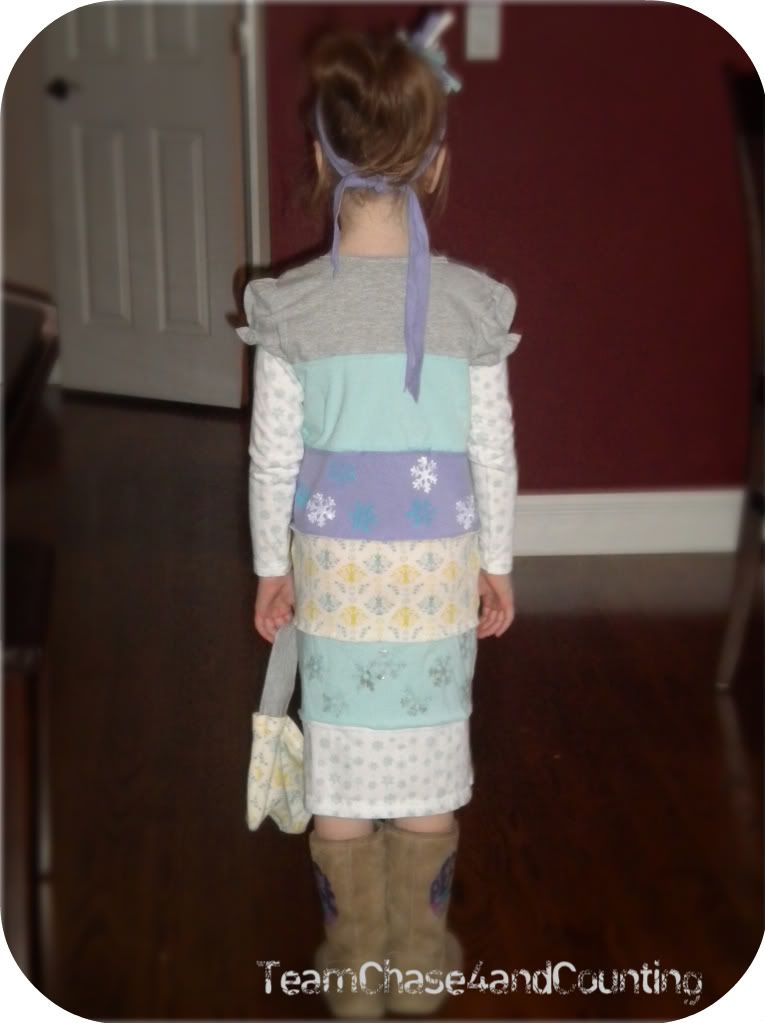
In the spirit of the snow and because of some inspiration I got from this tutorial by Cheri at "I Am Momma, Hear Me Roar!", I made this upcycled t-shirt dress for Miss Melia today:
Since I made several changes from the original tutorial, I thought I'd do my own tutorial. I'm a first timer, here, so bear with me!
Materials needed:
1 short sleeved shirt correctly sized for the child (M's was a size 6 that I picked up at Wal-Mart for $2)
A variety of t-shirts in any color/print that you wish (one should be long sleeved)
Scissors
Sewing Machine
Cute Little Girl
1. Cut out strips of the t-shirts. I did 2 sets of 5 strips (one set for the front, one set for the back). I cut each strip 5" wide. Make sure they are wider across than the width of the small t-shirt.
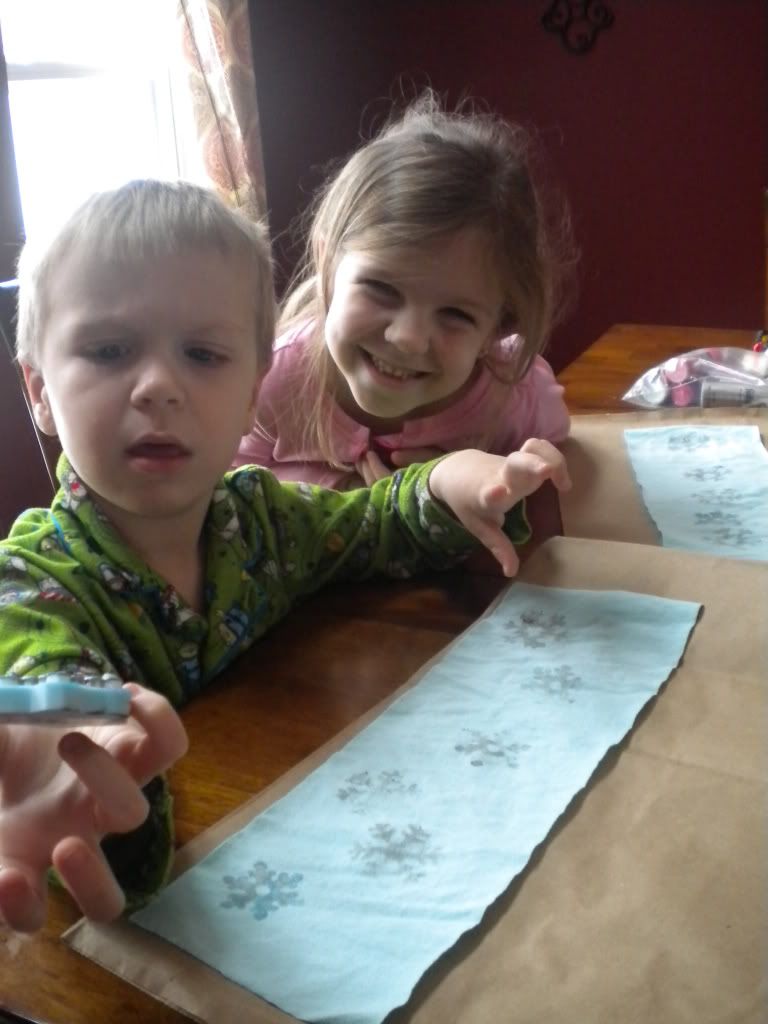
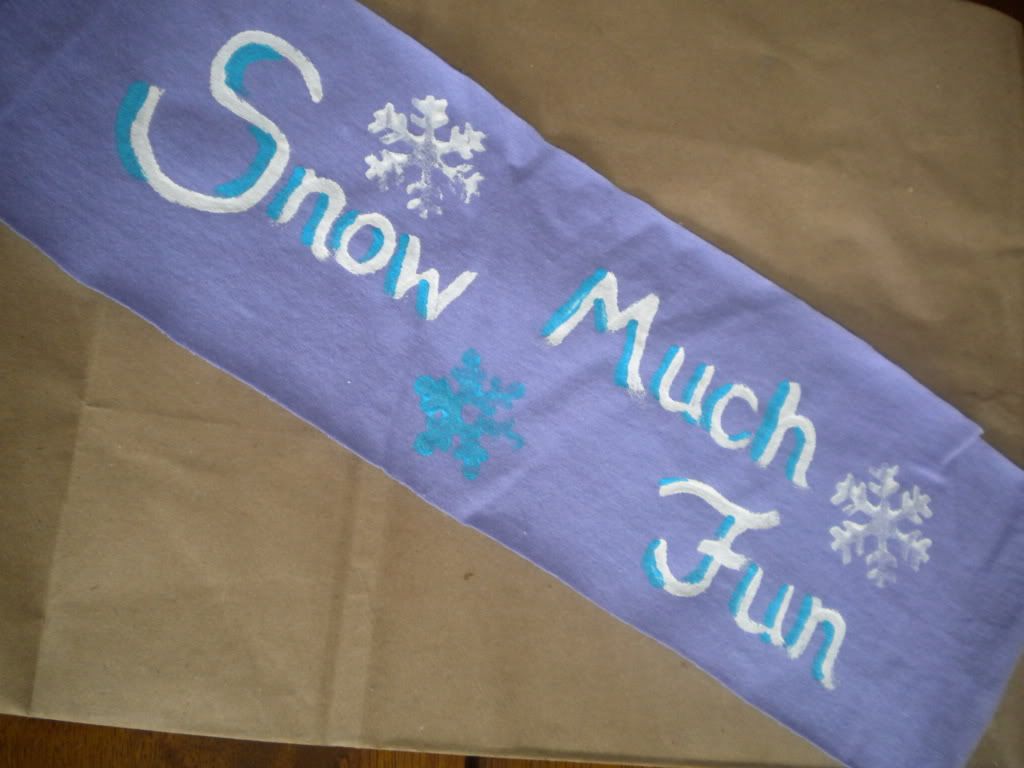
2. Lay the strips out to arrange them as you want them. At this point, decide if you need to "embellish" any of the strips. We used the stamp/fabric paint technique from the above mentioned tutorial.
I had the kids do this part, but it kinda stressed poor Camden out. Who knew he was such a perfectionist?!
I painted the purple part according to Melia's specifications.:)
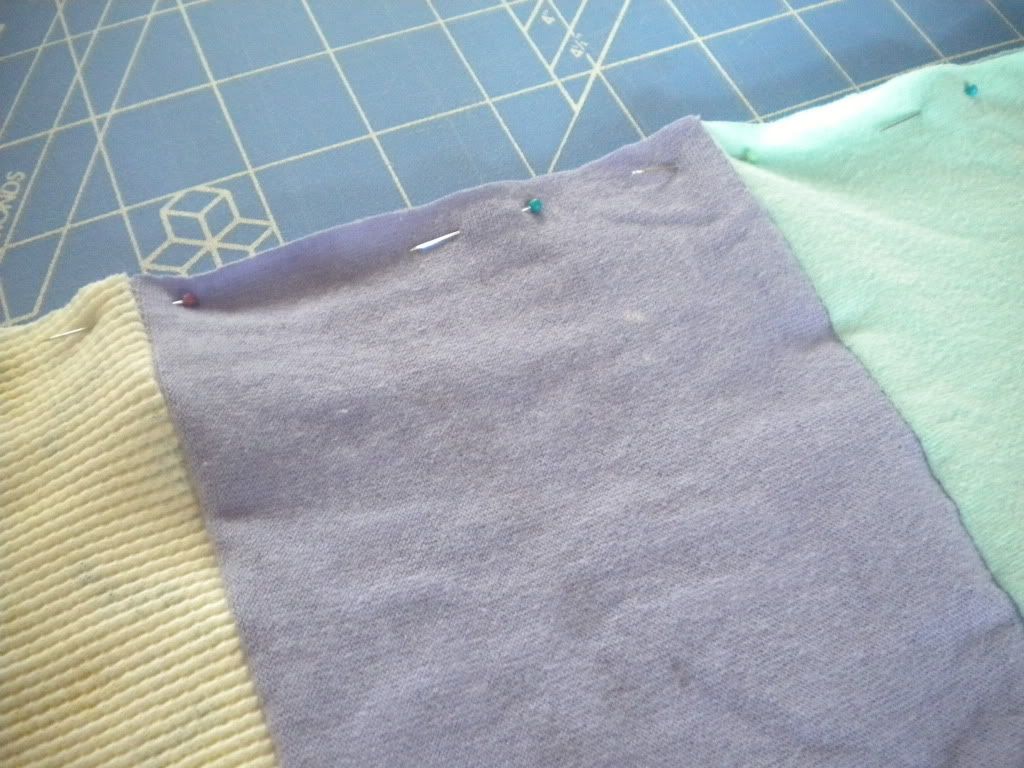
3. Pin the pieces together. I liked the idea of having the rough edges out, so I pinned the wrong sides together. I also used Cheri's advice about the bottom strip, using an already existing seam at the bottom. Sew these pieces so that you have a front panel and a back panel.
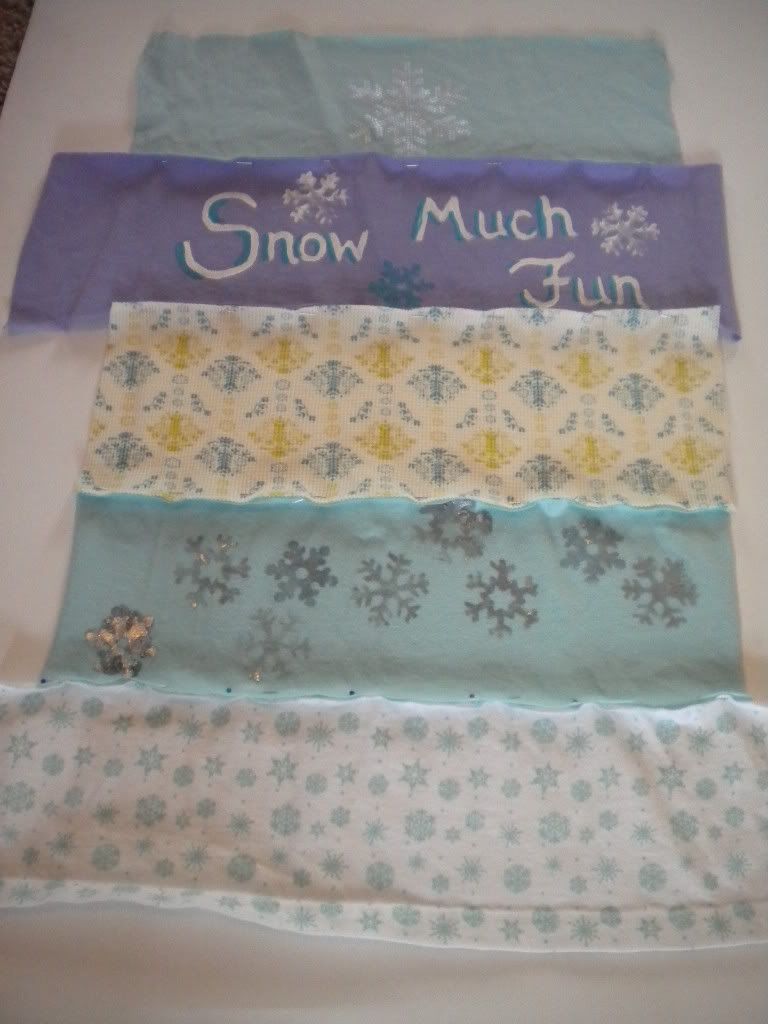
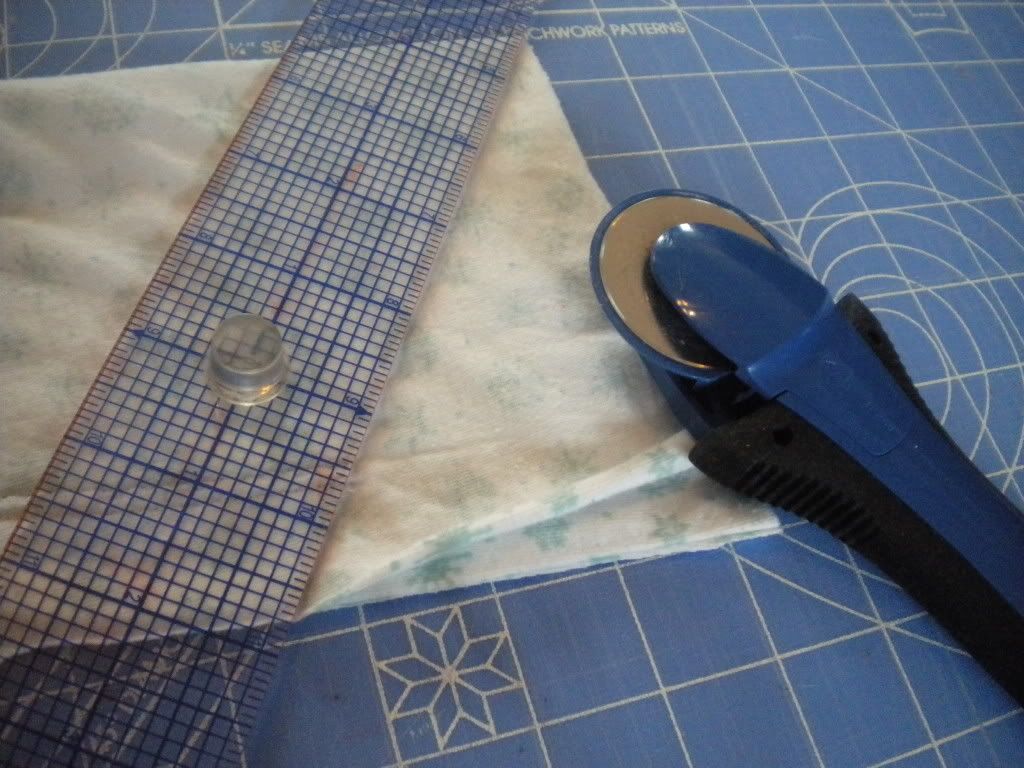
4. Use a straight edge and rotary cutter to straighten up the sides. You want the bottom to be just slightly wider than the top. Pin and sew the two panels together, right sides together, and then turn right side out.
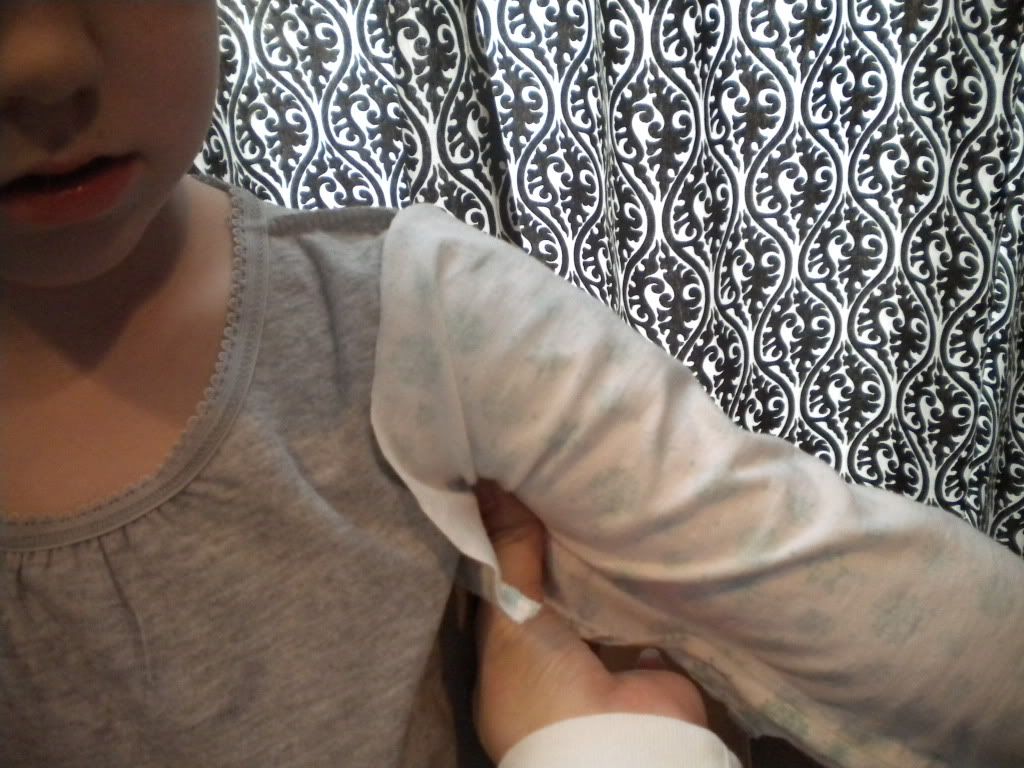
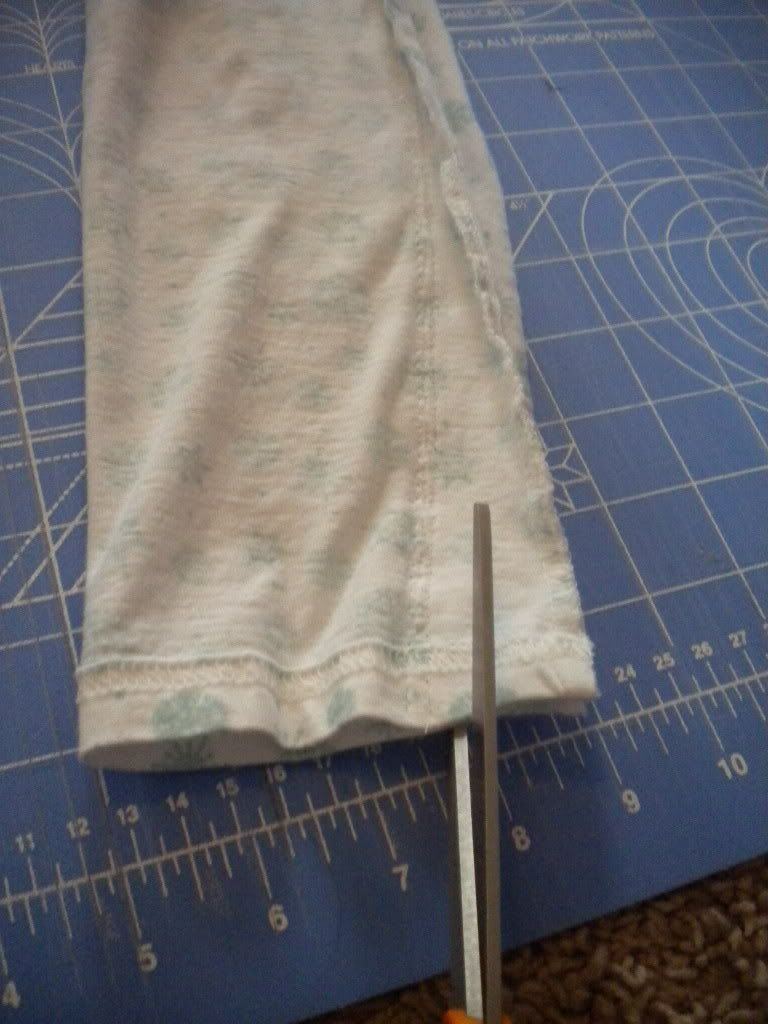
5. Measure your little model's arm from shoulder to wrist and cut the sleeves off the long-sleeved shirt at that length. Cut the sleeve down the seam and hold the sleeve up to your model's arm, pinning it all the way up where you need to sew it.
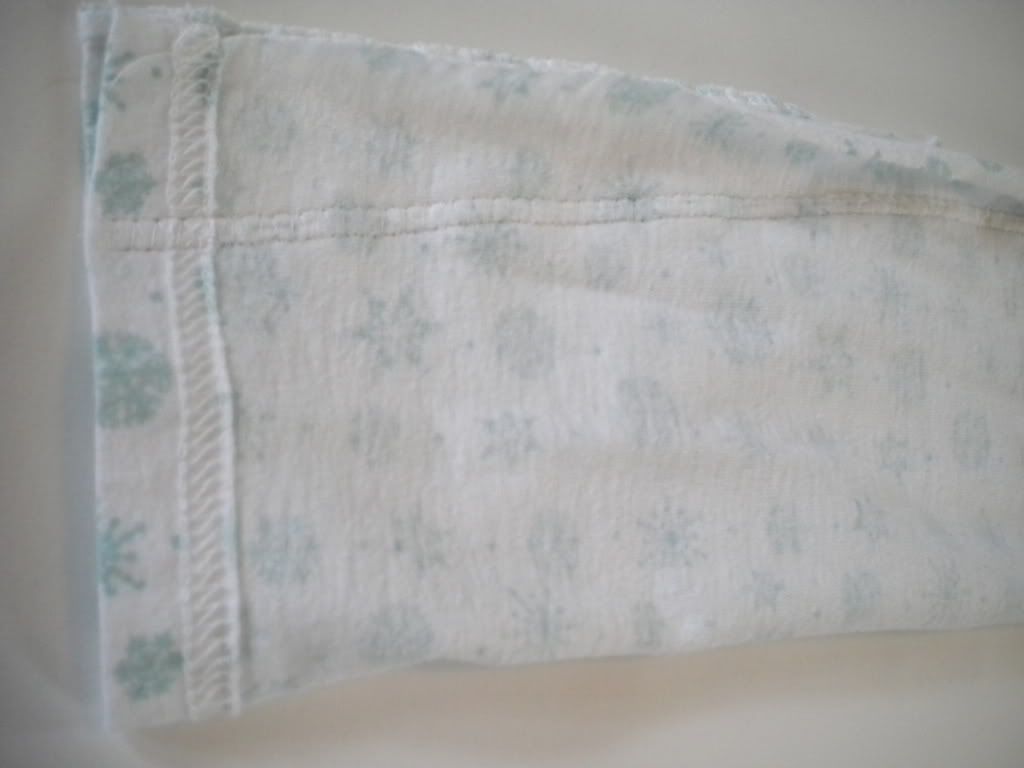
6. Sew the sleeves up to create a smaller sleeve (it will be a tube). This would be a good step to use a serger if you have one. If not, cut the excess material from the sleeve.
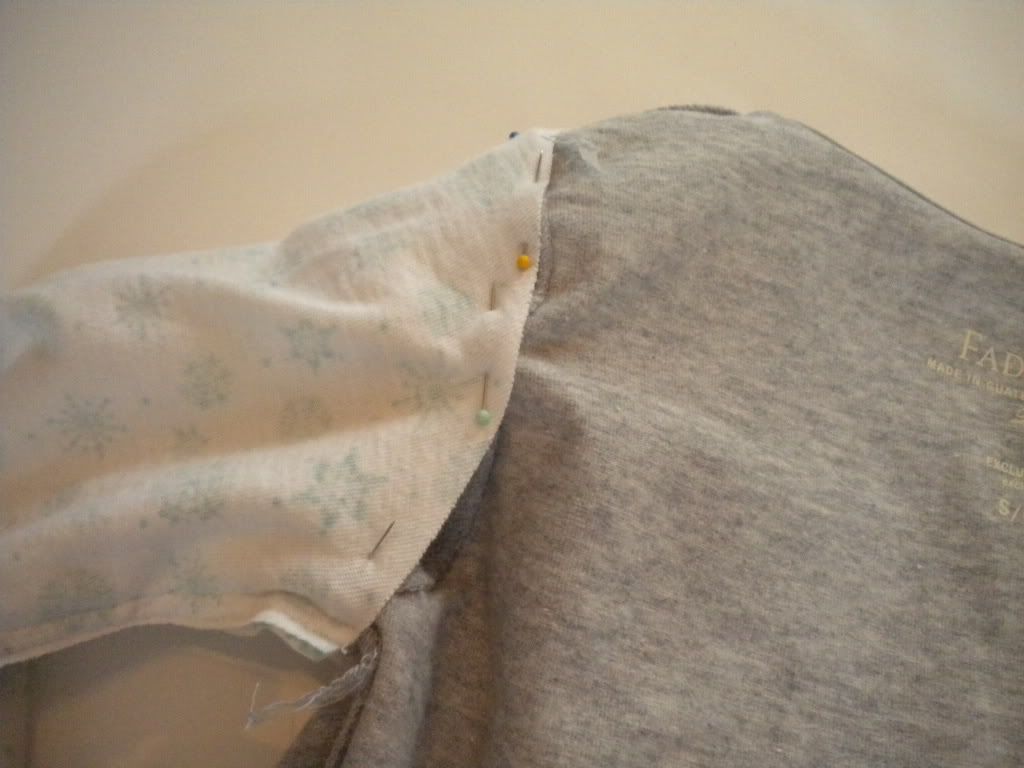
7. Make sure the sleeve is inside out and turn the little shirt (the top shirt) inside out. Cut the long sleeve at an angle and pin the top edge of the long sleeve to the seam where the short sleeve meets the shoulder. I tried this on my 'lil model to make sure the sleeves were the correct length.
8. Sew around the seam to attach the long sleeve and turn right side out.
9. Slide the dress part into the little shirt, pin in place, and sew around, leaving the top edge rough.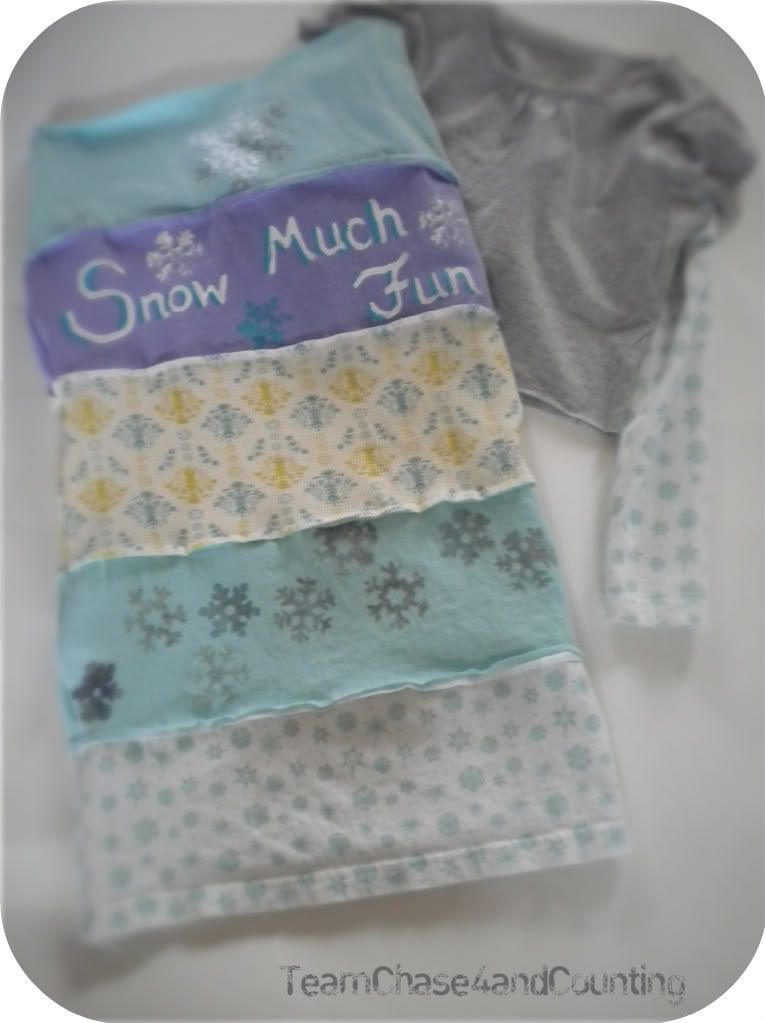

And, you're done!!
I also made a little matching purse using some of one of the shirts for the main part and the bottom seam of the gray shirt for the handles. And, what's a custom dress without a custom headband? I just used the seam of the purple shirt, sewed it to create a finished look, and tied a few of the cotton scraps together for the "bow". Cute!
The best part?! As I was putting this together, I was thinking about where these shirts came from. Guess what? I only bought the gray one (for $2)! The long sleeved one and the seafoam colored one were given to me by my mom. I got the off-white damask one from my friend, Tiffany Jett's garage sale a couple years ago. And the purple one was from a t-shirt stash that my friend, Kristin Perry, gave me! I would definitely say this was the most inexpensive project I've ever done!
Hope you're inspired to make your own!




Wow!!! You are an awesome Mommy!!! Such a fun project. To bad I dont know how to use a sewing machine ;(. Too Cute!!!
ReplyDeleteI am amazed by you. Not sure I can pull it off either. But that would be a fun way to utilize some old t-shirts....how fun you used a "snow much fun" T-shirt while on a snow day.
ReplyDeleteWe are impressed. Great job.
ReplyDeleteYou are so stinkin' crafty Jen! I bet the kids had a blast helping you. Stay warm. Kristin
ReplyDeleteJen, The dress turned out SO cute. Way to go! Thanks for sharing this with me. So glad the auction is going well, too.
ReplyDeleteCheri
The shirts you used for the strips, were they the appropriate size or do they need to be bigger? Thanks!
ReplyDeleteI used bigger shirts and cut them down. :) Happy Sewing!
ReplyDelete